Terminal server (Remote Desktop Session Host)
- After the ThinPrint Engine installation and then the terminal server reboot, open the ThinPrint Configuration.
- Open AutoConnect’s Map additional Printers table (lower arrow in following Illus.).
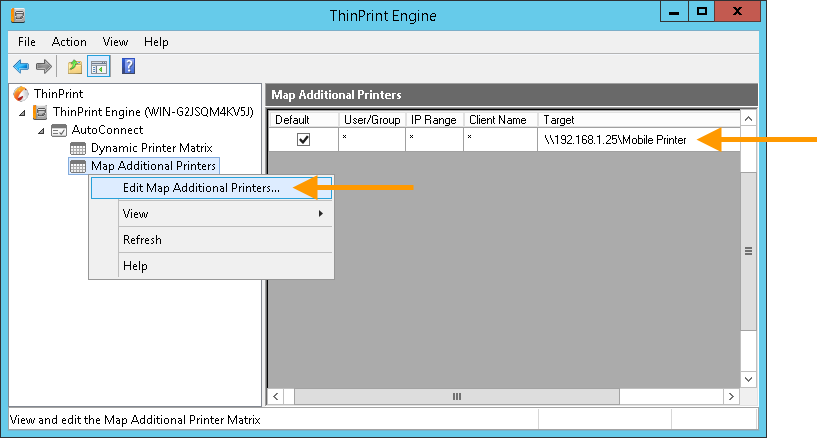
- Enter a new line with the following entry in the target column (upper arrow):
\\<MobilePrintServer_address>\Mobile Printer
- Click Apply or OK to confirm.
- Test the printer mapping once using an administrator session.
On doing so, the Mobile Printer’s virtual printer driver TP Mobile Gateway will be automatically installed on the terminal server.
Mobile Session Print server console
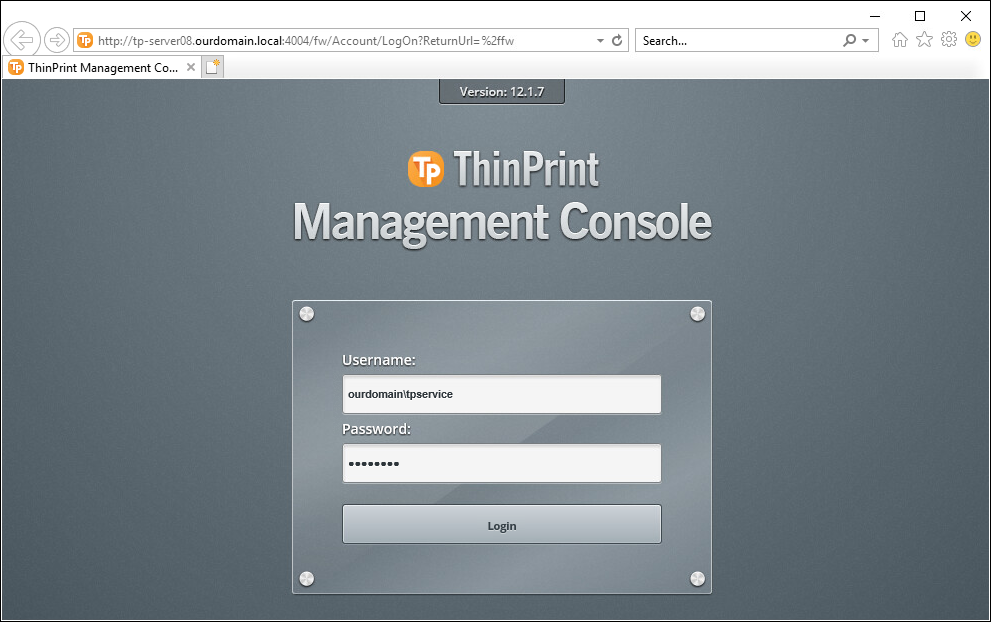
Mobile Session Print is configured using the license servers’s Management Console which is installed together with the License Server.
You can access the Management Console from any HTML5 browser using the following address:
https://<LicenseServer_address>:4004/fw
- Alternatively, select ThinPrint License and User Configuration in the license server’s Windows Start menu.
![]()
- Log on to the license server’s Management Console, for example, using the recommended Service Account (see User account for installation).
Modifying Mobile Session Print server’s IIS
- See the section Installing the web server certificate.
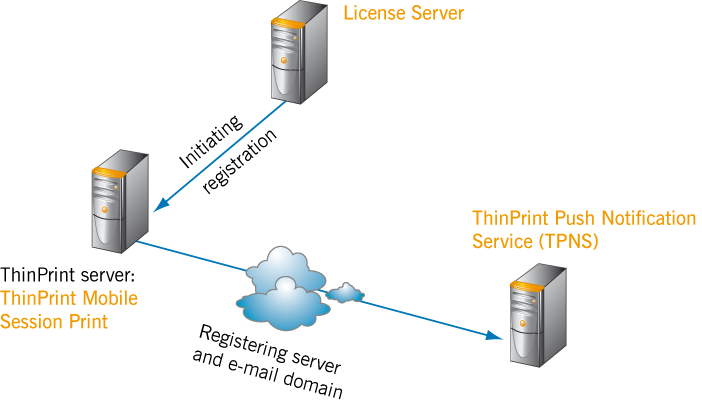
Registering Mobile Session Print server on TPNS
To be able to activate users and devices for Mobile Session Print you need to have previously registered the Mobile Session Print server on the ThinPrint Push Notification Service (TPNS). This is also required after an update installation of Mobile Session Print.
Note! If Mobile Session Print and License Server are to run on the same server that’s running Windows 2008 R2 and the Window name differ from the external URL, you must add the following two values to the Windows Registry manually3:
1. hkey_local_machine\system\CurrentControlSet\Services\LanmanServer\Parameters\DisableStrictNameChecking (REG_DWORD) = 1
2. hkey_local_machine\system\CurrentControlSet\Control\Lsa\MSV1_0\BackConnectionHostNames (MultiString) = FQDN of the external URL
- Select Global Settings.
![]()
- Select Mobile Print→ Register Server.
![]()
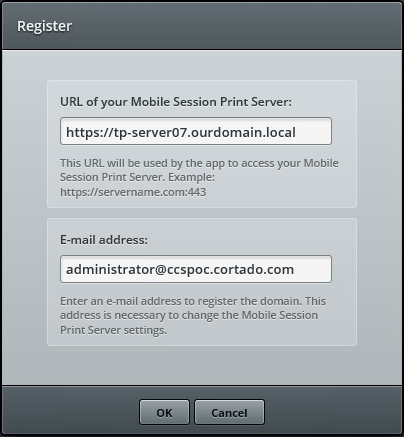
- Enter the Mobile Session Print server address and an administrator’s e-mail address – preferably that of the user account used for installation. This will register both the Mobile Session Print server and the e-mail domain on the TPNS.
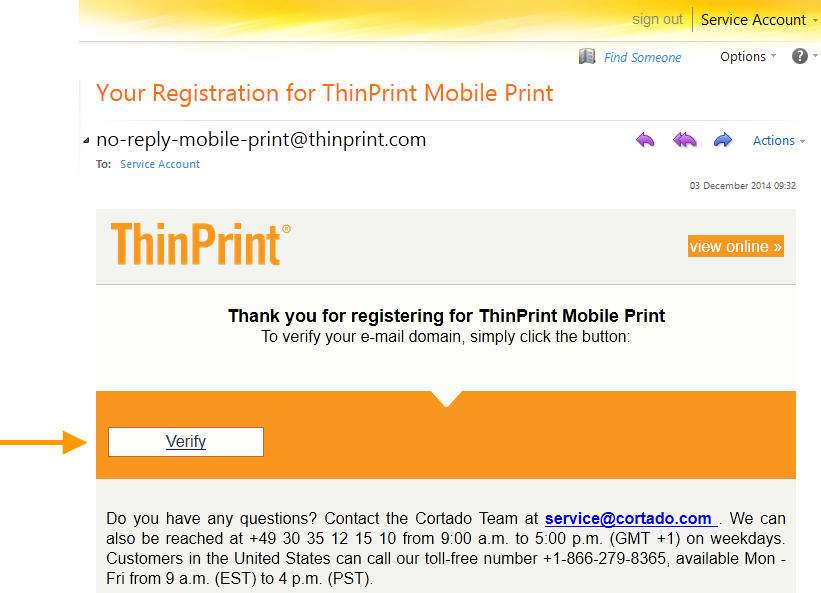
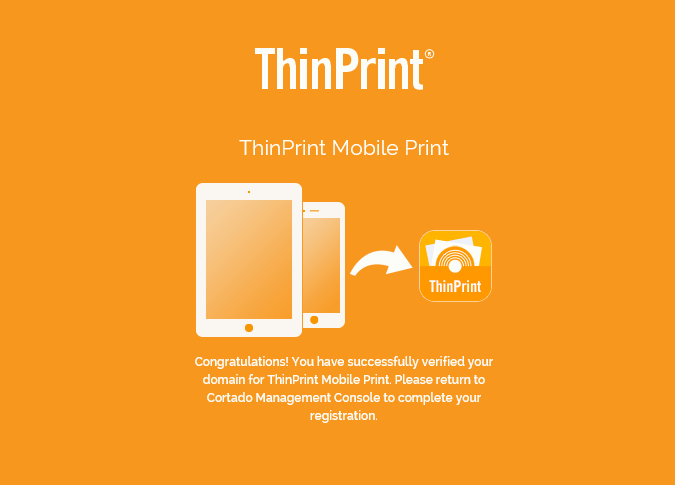
- Go to the mailbox of the given user account when the message Confirm activation link in e-mail appears and click the Verify button in the registration mail to confirm this e-mail. Then a confirmation page will appear in the web browser.

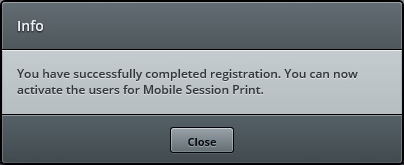
- Go back to the Management Console and complete the registration process by clicking on Complete Registration (see above).
As confirmation you will receive a corresponding message.
In the Management Console, the registration information and the print job storage will be displayed. The print job storage destination folder can be changed with Edit Settings.

Enabling users for Mobile Session Print
- To enable users, select Users or Control Panel→ Users.
![]()
- To add users – if they’re not already enabled for ThinPrint –, click on the plus sign.
After the import, the users will be enabled for ThinPrint but not yet for Mobile Session Print. To enable it, click on Edit.
![]()
- Enable the user for Mobile Session Print and click OK.
![]()
- Lastly select Force update to transmit the (changed) user information to the TPNS. This is also required after an update installation of Mobile Session Print.
![]()