Follow this step-by-step guide to print from a remote desktop session on your iOS device using ThinPrint Mobile Session Print.
Start a remote desktop session
Step 1 of the scenario.
- Launch the Remote Desktop app (left arrow).

- Establish a connection to the terminal server.
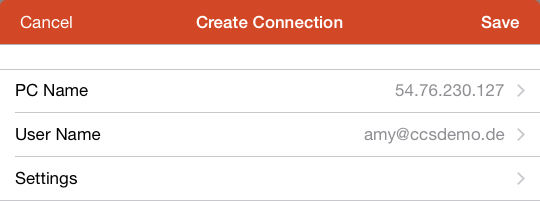
RD Client: connection properties for Remote Desktop connection (example)
Trigger the print job
Step 2 of the scenario.
- Open a file or an application on the desktop.
- From there, open the app’s menu and tap on Print.
Remote desktop: opening file and selecting Print (example)
- Print with Mobile Printer by tapping Print and then OK.
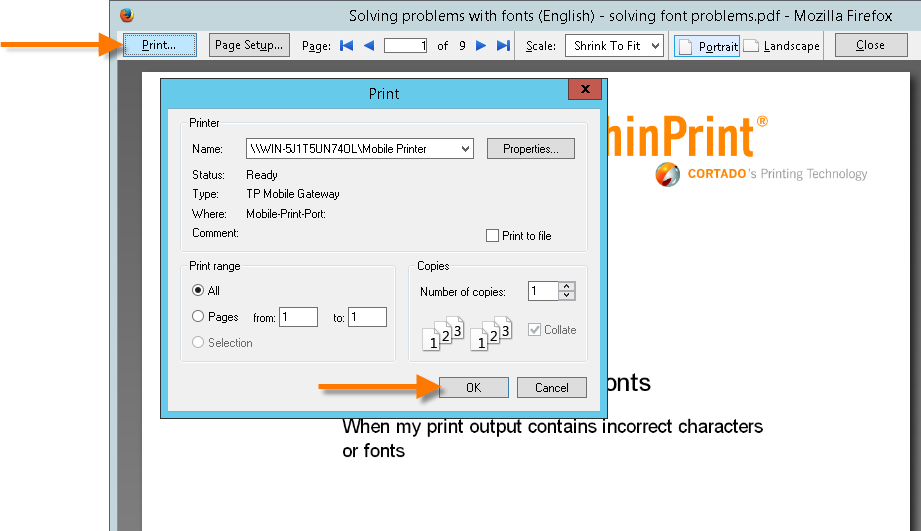
Remote desktop: sending print job to Mobile Printer
- A push notification showing available print jobs will appear.
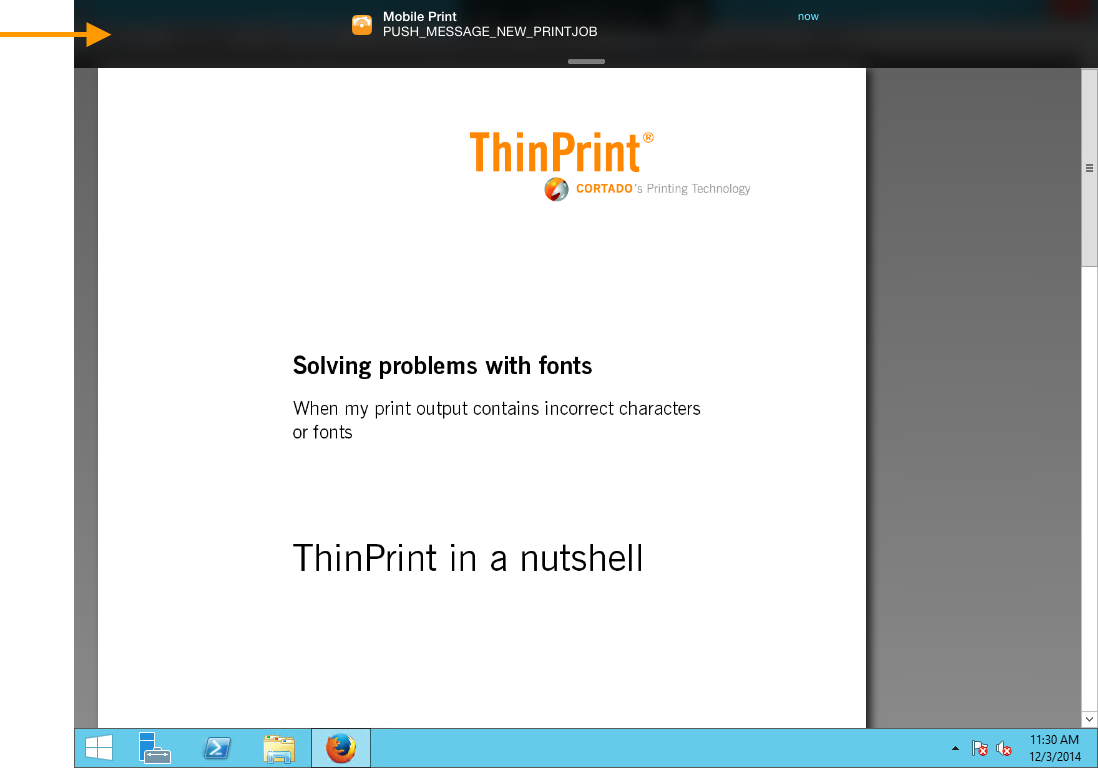
iOS: print job push notification
Send the print job to a printer
Step 6 of the scenario.
- Tap on the push notification. You will be forwarded automatically to the ThinPrint Session Print app. This connects to the Mobile Session Print server in order to retrieve the print job information and download the print job.
- When New print job ready appears start the AirPrint process by tapping on Print now.
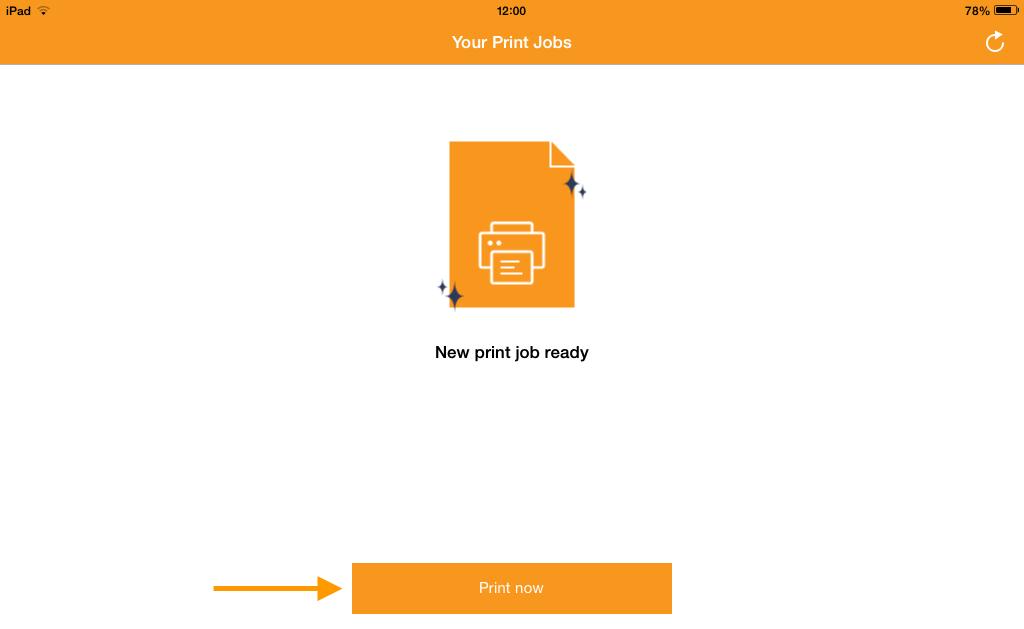
Session Print app: print job information
Step 7 of the scenario.
- The AirPrint menu will open. If necessary, tap on Select Printer and select a printer in the network.
- Then tap on Print to send the received print job to that printer.
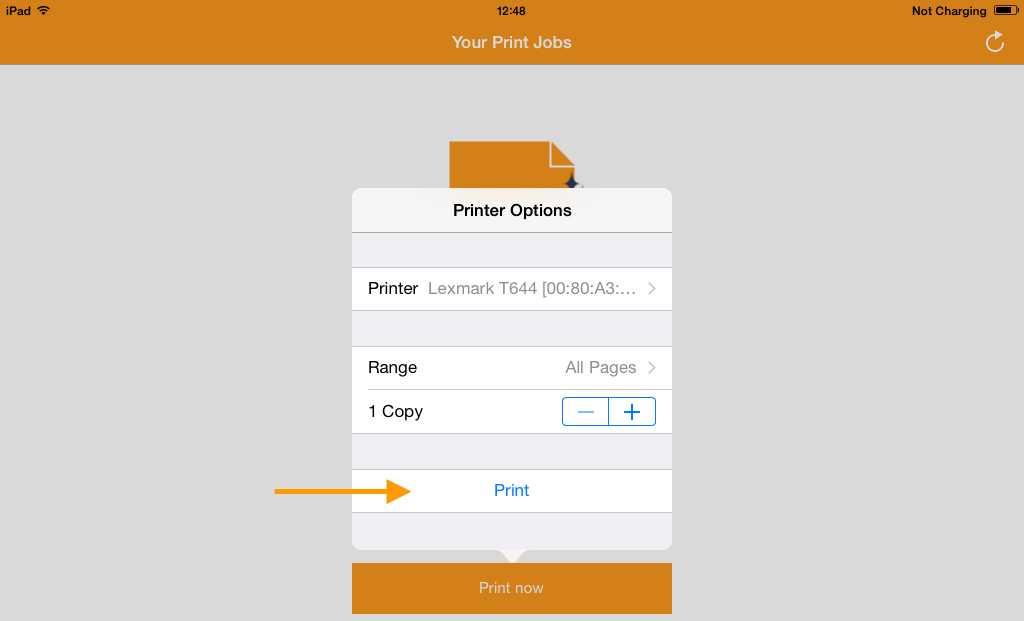
AirPrint menu: tap Print when printer is selected