Target printer
- Start the Host Integration Service configuration in its installation directory from the command prompt:
TPLPDSrv -setup
- Select or type the printer object created for Host Integration Service as Target printer – here: Optra– which the Host Integration Service uses for forwarding print jobs to the ThinPrint Engine.

Host Integration Service configuration panel: Select a TARGET printer (example)
Selecting LPRs
Change
The LPD tab card offers LPR and LPD settings. The most important setting is the specification of the host systems that are allowed to send print jobs via LPR to the Host Integration Service if you uncheck the option Disable list (allow any access) before. The default setting of 0.0.0.0 means that no host has been specified yet; you can Change this entry.
Add
New entries can be added with Add if you uncheck the option Disable list (allow any access) before. Clicking this button opens the window. Enter the IP address and subnet mask of, for example, the SAP server:
192.168.0.228
255.255.252.0
adding a host system
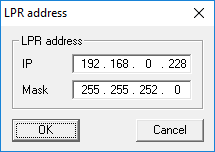
specifying a host that is allowed to send print jobs to the Host Integration Service
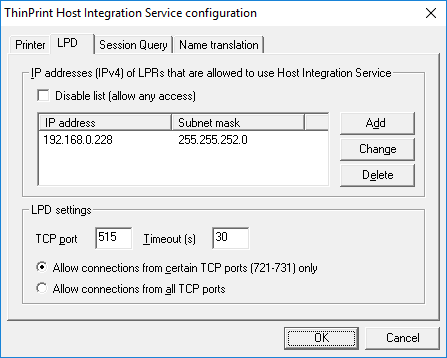
one host system added
Delete
- Click Delete to remove individual entries from the list.
LPD and LPR configuration
TCP port
- Enter the TCP port were the Host Integration Service should “listen” for incoming data. Default: 515.
Timeout
- Enter the amount of time the Host Integration Service is to wait for a response from the host system before canceling the transmission. Default value: 30 s.
Allow connections from certain TCP ports only
- Specify whether print jobs are only to be sent from LPRs with TCP port numbers from 721 to 731 or are to be sent from TCP ports with any port number.
Specifying a server for session query
The Host Integration Service must detect the server on which the relevant user’s session is running. There are two possible constellations here (see Constellations).
On the Session query tab you can configure according to the constellation:
| Host Integration Service installed on … | Configuration |
| 1 … a standalone XenApp server | • Select Stand-alone terminal server or XenApp server (local) |
| 2 …. a Citrix farm server | • Select XenApp server farm (XenApp 7.5.0 DBSchema) |

session queried on local stand-alone XenApp server
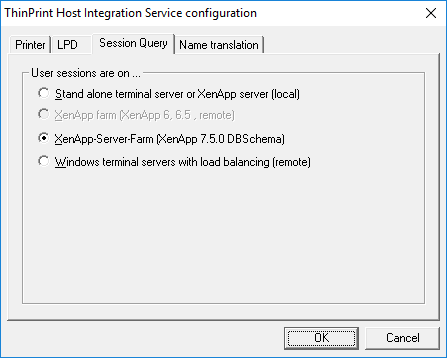
specifying a local XenApp farm server for session query
The options XenApp farm (XenApp 6, 6.5, remote) and Windows terminal servers with load balancing (remote) are currently not supported.
Setting up access to the Citrix database
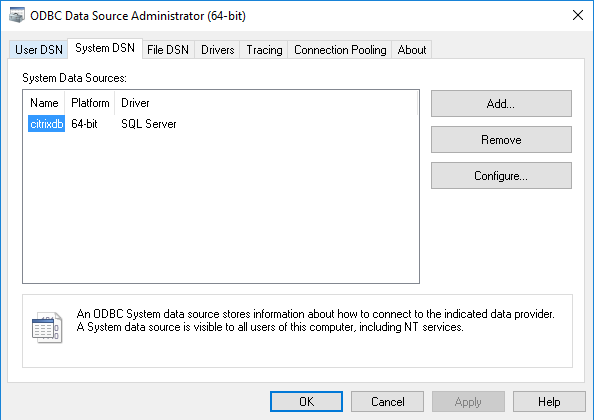
- On the server on which you installed the Host Integration Service, open the ODBC Data Source Administrator.
- On the System DNS tab, select Add 6.
ODBC Data Source Administrator: System DNS tab
- Select Finish.
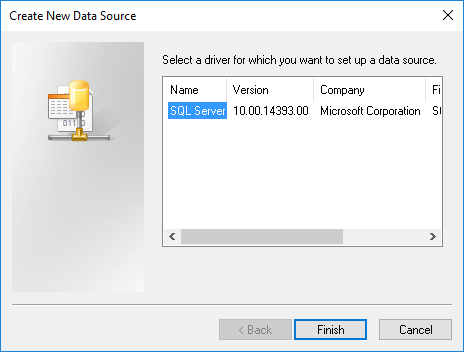
adding System DNS
- Select a name and a description for a new connection and enter the SQL server as well as the SQL instance if necessary. Confirm with Next.
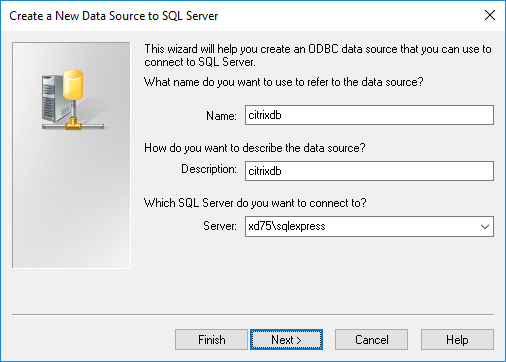
name of the connector and address of the SQL database
- Click Next. The ODBC Data Source Administrator will attempt to connect to the SQL server.
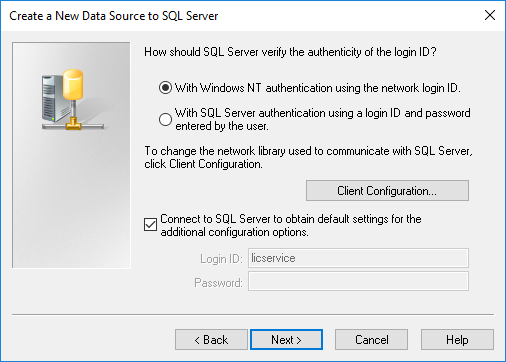
connection to the SQL server
- Specify the name of the SQL database and confirm with Next.

specifying the SQL database
- Select Finish.
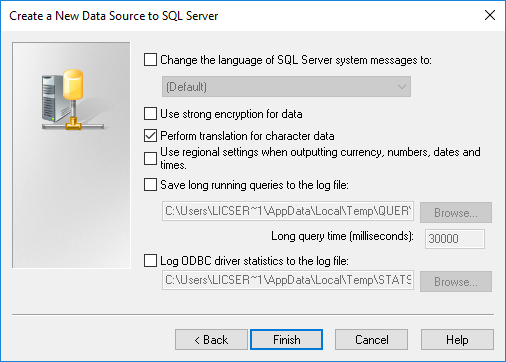
Finish
- Select Test data source, to test the access to the Citrix database.
testing the access to the Citrix database
- Select OK when the test result appears.
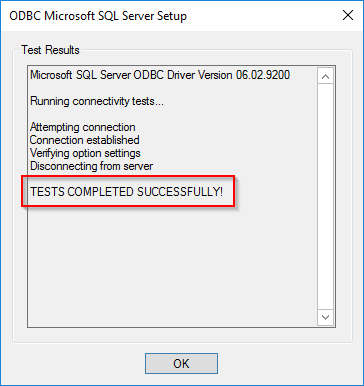
test result
- Enter the name of the System data source (here: citrixdb) in the registry value
hkey_local_machine\software\ThinPrint\TPLPD\DBConnctionString.

ODBC connector created
connector name added to the Registry of Host Integration Service
Name translation
If different user names are to be used on the one hand for the host system and on the other hand for the XenApp farm, these can be associated with each other on the Name translations tab.
Example: XenApp server user Darwin uses the user account user2 in the SAP GUI for Windows; the Host Integration Service forwards print jobs from user2 to Darwin’s user station (see also Detecting user names from the host system).
Table entries can be edited with the Add, Change, and Delete functions. Clicking Add or Change opens a window in which assignments can be edited.
associating host’s user names to XenApp farm’s or domain user names
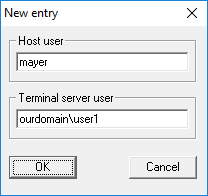
name translation: new entry
Importing user names for name translation
If you need to add several entries to the name translation table, you can simply edit the TPLPDSrv.ini file. This, the Host Integration Service creates automatically with a (re)start. It’s found in the same folder as TPLPDSrv.exe (= program directory; see Installing Host Integration Service).
– Copy all name translations into TPLPDSrv.ini. Each translation requires on line. Host user names and terminal server user names are separated by an equal sign (=).
– Or:
- Create a text file from a database.
- Paste the header [NameTranslation] into the first line.
- Separate user names with an equal sign (=).
- Name the file TPLPDSrv.ini.
- Use this file to overwrite the TPLPDSrv.ini in your program directory (Installing Host Integration Service).
The new TPLPDSrv.ini file is thereafter immediately available. In this case, it is unnecessary to restart the TP Host Integration Service Windows service.
name assignment in the TPLPDSrv.ini file
Finishing configuration
- Lastly, save your settings with OK.
- Start TP Host Integration Service from the Windows Services folder.
Accepting changes
Later changes made with the Host Integration Service configuration first take effect after restarting the Windows service.
- Open the Windows Services folder.
- Restart the service TP Host Integration Service.