Opening the configuration console
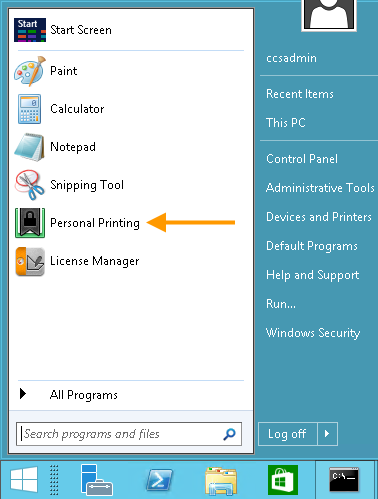
- On the Mobile Print server select: Personal Printing in the start menu.
Open the Personal Printing console
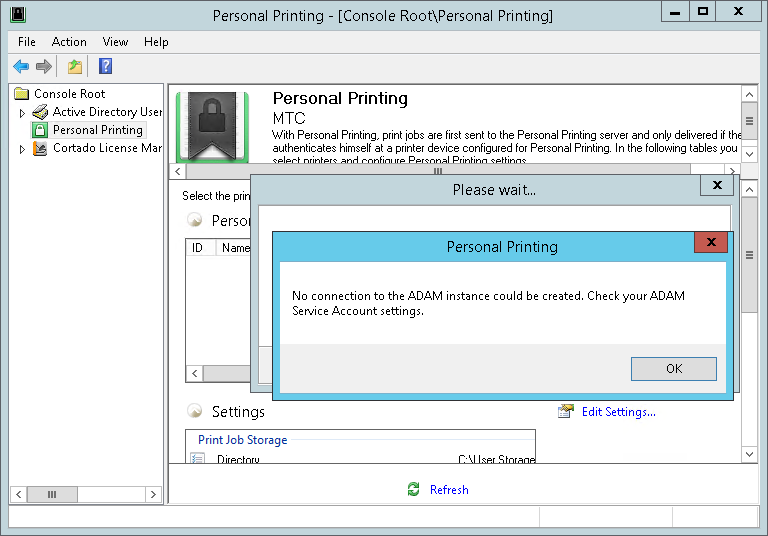
With first opening the Personal Printing configuration, a message will appear that no connection could be established to the ADAM instance.
ADAM message with first opening
After closing this message a window will appear where you can change these settings (see section ADAM Service Account).
Edit settings
For settings, usually go to Edit Settings.

Select Edit Settings
A window will open with the following tabs:
- Print Job Storage
- ADAM Service Account
- Authentication
- Tracking (recently not available)
ADAM Service Account
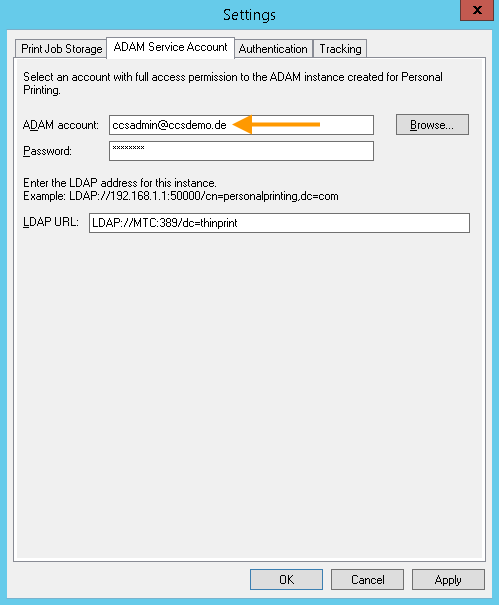
An account must be specified here, with which Personal Printing can communicate with the Active Directory. This must be the same account with which the ThinPrint Mobile Print software was installed – i. e. the recommended service account.
Define ADAM Service Account
The LDAP URL is used to logon to Cortado server. This is the default, and doesn’t need to be changed.
Print Job Storage
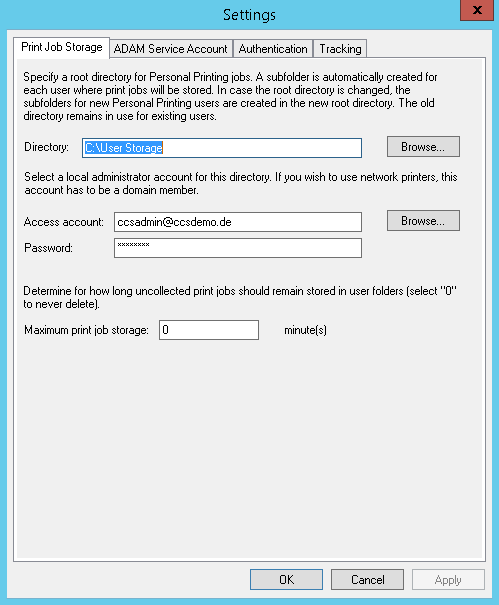
You have to specify an account which is used by the Personal Printing software to store or read the users’ print jobs in this folder and its subfolders.
Print Job Storage on the Mobile Print server
- Directory: Behalten Sie das voreingestellte Verzeichnis (C:\User Storage), in das die Druckaufträge der Nutzer gespeichert werden bei.
- Access account and password:Specify an account (UPN and password), that has access to the folder with the print jobs. This account requires local administrator permissions and should be a domain user. If, on security grounds for example, you don’t want to specify a domain account, you can select a local admin account instead. Note however, that in that case it’s not possible to print to shares, but only to printers created locally on the Personal Printing server. We recommend you use the service account.
- Maximum print job storage: Print jobs remain in this directory until collected at the printer or deleted using JobViewer. To prevent that this data takes up too much space on the hard disk, you can specify a period after which they will be deleted (in minutes). To enable the maximum print job storage time restart the IIS Admin Service.
Authentication
With Edit Settings→ Authentication you set up the methods of authentication that will be used throughout your company.
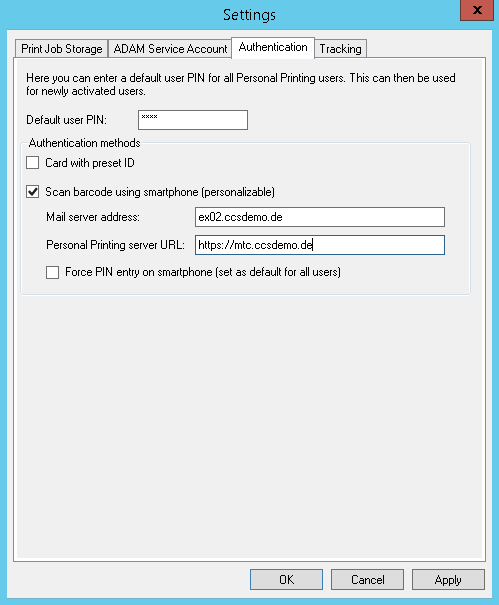
Authentication settings for Personal Printing
- Default user PIN: If all users are to use the same PIN, you can set a default user PIN here.
- Authentication methods: Select the authentication method(s), that you want to use throughout your company. Later, in the user configuration, only those authentication methods that you have chosen here will be active.
- Card with preset ID: It’s a card type with a fixed card number, which is used to identify the users. This authentication method requires printers with card readers. For more information, see the Personal Printing manual, in the section Authentication with printers.
- Scan barcode using smartphone (personalizable): If the users are to authenticate themselves on the printer with their smartphones, specify the address of your mail server as well as the URL of your Mobile Print server. Since communication between the Mobile Print server and the mobile devices is encrypted by default (see also Client communication port), you enter here the Mobile Print server’s https address in Personal Printing server URL.
Note! Note that at Personal Printing server URL (example for authentication with smartphones), the same addressing (e.g. IP address or FQDN) is used as on the Mobile Print server (see Management Console at Global Settings→ Connection).