The server certificate can be obtained from a public certification authority. This has the advantage that their root certificates are already recognized by all servers and end devices. Thus, there are no certificate errors (as described in section Certificate-based authentication).
Note! Never delete the Cortado Root CA certificate from the certificate store of the Mobile Print server – not even if you use certificates that were purchased from an official certification authority. The Root CA certificate is required for authenticating the individual ThinPrint Mobile Print modules.
Regardless of whether the certificates have been purchased, or generated by one’s own certification authority, they can be set up for ThinPrint Mobile Print in two ways:
- with the Configuration Assistant→ Certificates→ Browse or
- with the Management console→ Control Panel→ Certificates.
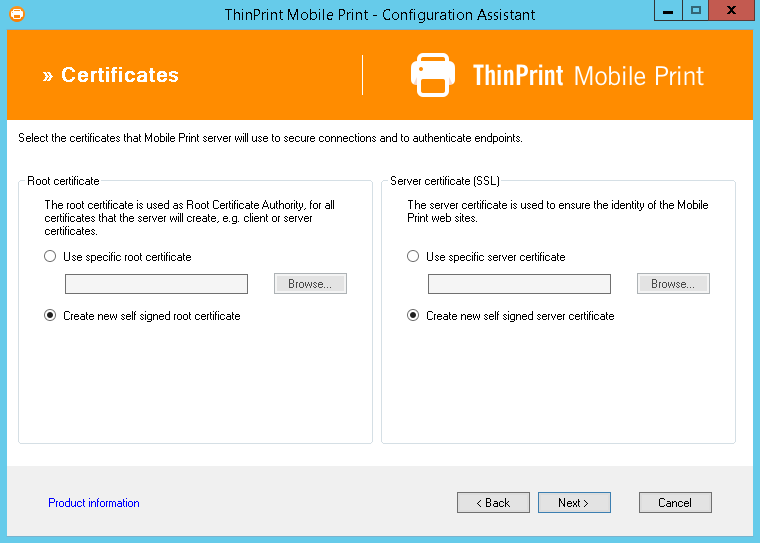
Configuration Assistant: generate or import root and server certificates
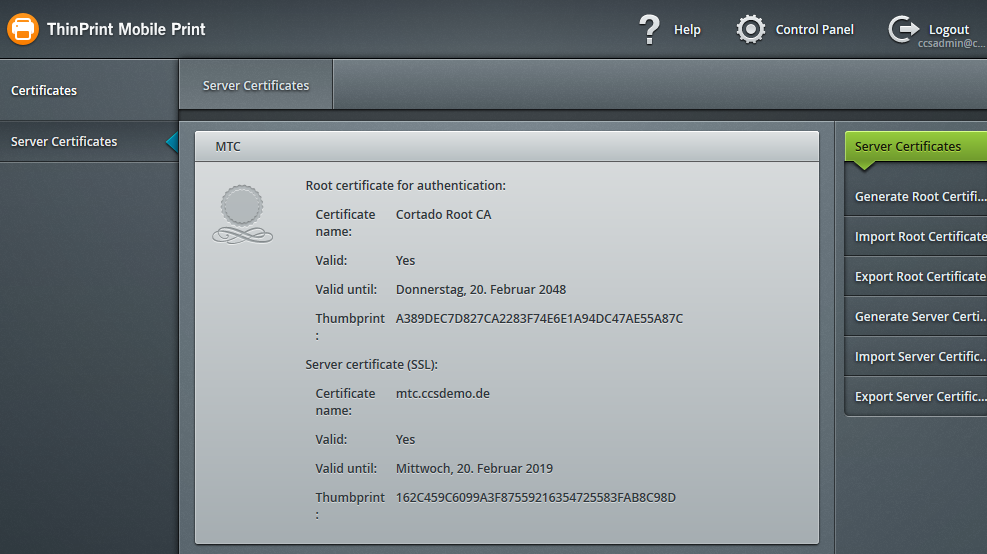
Management console: generate or import root and server certificates
Note! The Mobile Print server can generate server certificates (SSL) for you, if you are using a root certificate that:
– was itself generated by the Mobile Print server,
– was purchased from an official certification authority or
– was created by your own certificate authority.
If a purchased or your own root certificate is used, it must be first imported (including the private key) into the certificate store of the Mobile Print server.
Generate Root Certificate
ThinPrint Mobile Print generates a new root certificate automatically, if you:
- select the option Generate new self signed root certificate in Configuration Assistant (see illus.) or
- select the option Generate Root Certificate in the management console (see illus.).
Note! If you generate a new root certificate, it must be assigned to all users and loaded onto the mobile devices (see section Using self-signed certificates).
Generate Server Certificate
ThinPrint Mobile Print generates a new server certificate automatically, if you:
- select the option Generate new self signed server certificate in Configuration Assistant (see illus.) or
- select the option Generate Server Certificate in the management console (see illus.).
Note! The server certificate which is created here (if necessary) contains the server address which you have specified in the Configuration Assistant’s Mobile Print server address menu (arrow in illus.). This address is also shown in the management console’s Global Settings→ Connection (arrow in illus.). Make sure that – on the one hand – this address is reachable from the devices and – on the other hand – in der Mobile-Print-App auf den mobilen Geräten verwendet wird. Otherwise certificate errors certificate errors can occur.
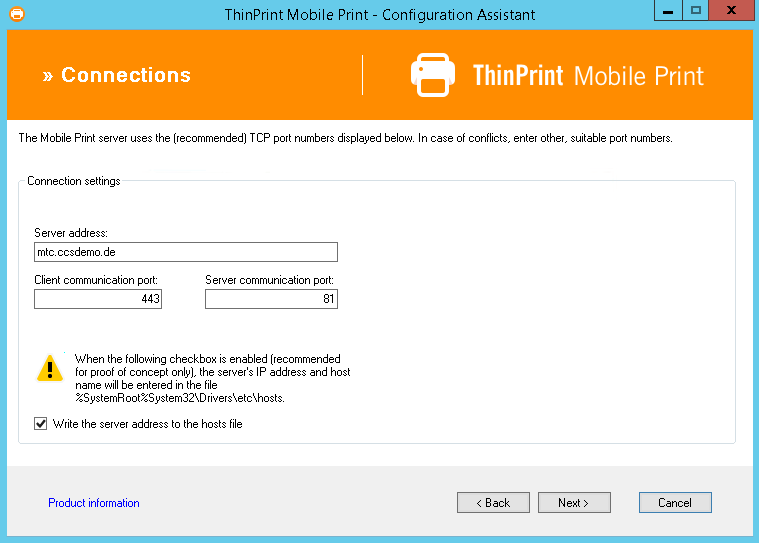
Connection settings in the Configuration Assistant
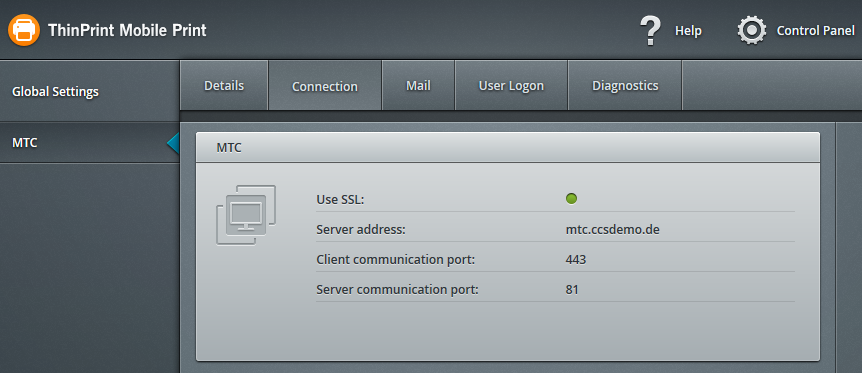
Connection settings in the management console
Note! When using Android devices from OS 9, please note that the server certificates (SSL) used must have at least one Subject Alternative Name (SAN). This can also be the same as the Subject Name.
Import Root Certificate
With importing a root certificate of your company’s certification authority (CA) note that only the following cryptographic providers are supported by ThinPrint Mobile Print. Please take this into account with configuring your company’s CA.
- Microsoft Base Smart Card Crypto Provider
- Microsoft Enhanced Cryptographic Provider v1.0
- Microsoft Base Cryptographic Provider v1.0
- Microsoft Strong Cryptographic Provider
- Microsoft Base DSS Cryptographic Provider v1.0

Supported cryptographic providers
Export Root or Server Certificate
In addition, the root certificate and the server certificate can be exported with the options Export Root Certificate and Export Server Certificate (SSL) as a .pfx file (see illus.). Next, protect your certificate with a password.

Specifying the password for the certificate export