To configure the access permissions, select Control Panel→ Group Templates or Control Panel→ Users.
- Highlight a group template or one or more users (left arrow in illus.).
- Then select Settings→ Edit in the context menu (right arrow in illus.).
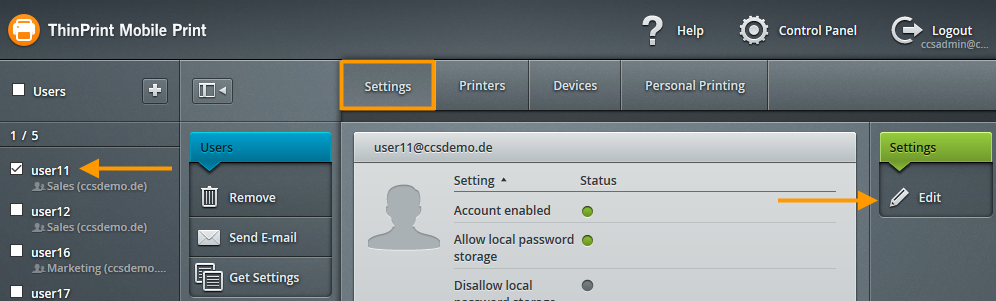
Configure access permissions (Users, Settings)
Now you can make changes to the default rights settings for the selected users. By default all the settings are checked, except for Disallow local password storage. Some of the settings are only visible if a single user only is selected.
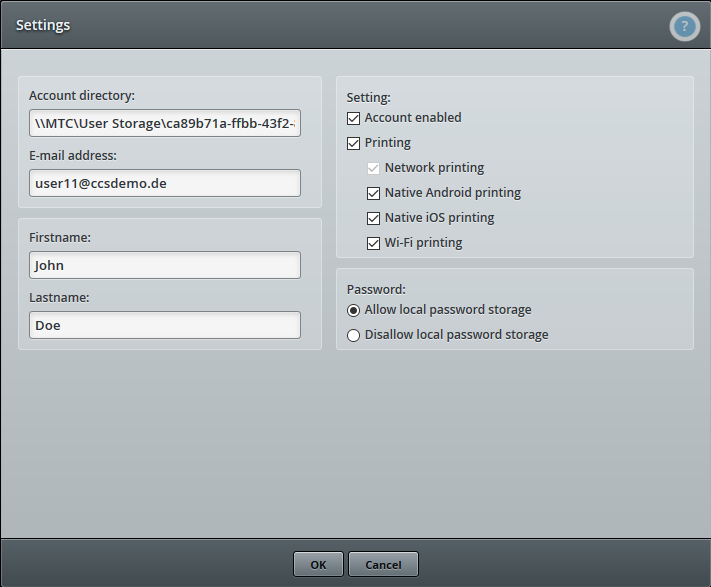
Default user settings
- Account directory: So long as only one user is selected you have the option, under Account directory to change the path to the directory of that user (User Storage). To do so, share a new directory and enter the path to the share here.
- E-mail address: Here you can find the e-mail address of the user.
- Firstname/Lastname: The data is taken from the AD and may be added to or modified here, as required.
Setting
- Account enabled: By removing this checkmark, you deny the users access to the company drives via the Mobile Print app
- Printing: By removing this checkmark, you block users from printing with ThinPrint Mobile Print.
- Network printing: By removing this checkmark, you deny users access to the network printers (see the section Printing to network printers).
- Native Android printing: By removing this checkmark, you deny user access to the network printers in all Android apps that offer a printing option (see the section Native Android printing).
- Native iOS printing: By removing this checkmark, you deny user access to the network printers in all iOS apps that offer a printing option (see the section Native iOS printing).
- Wi-Fi printing: By removing this checkmark, you block users from searching for printers in the Wi-Fi network (see the section Wireless printing ).
Password
You can choose here from the following options for the Mobile Print app:
- Allow/Disallow local password storage: If this option is enabled, the user may save the password for the Mobile Print app, for example with Keep me logged in. With Disallow, they always have to log in.
Manage users
Remove users
With Remove you can remove the selected user(s) from the Mobile Print server. That will re-release the corresponding user licenses.
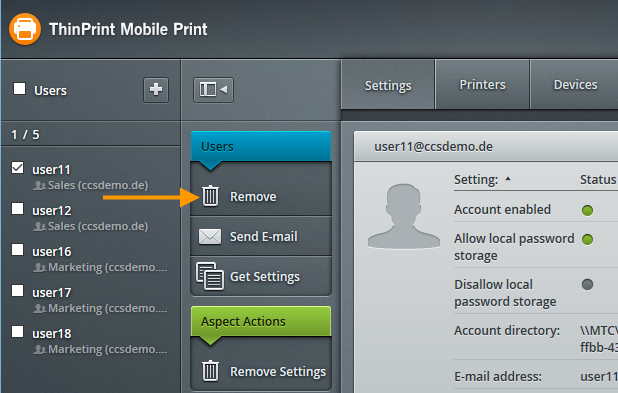
Remove user from Mobile Print server
Send welcome e-mail
If the default settings under Global Settings→ Mail, are left unchanged, all users automatically receive a welcome email on import (see the section E-Mail settings). If the default settings change, or the welcome email needs to be resent sometime later, use the Send E-mail button.
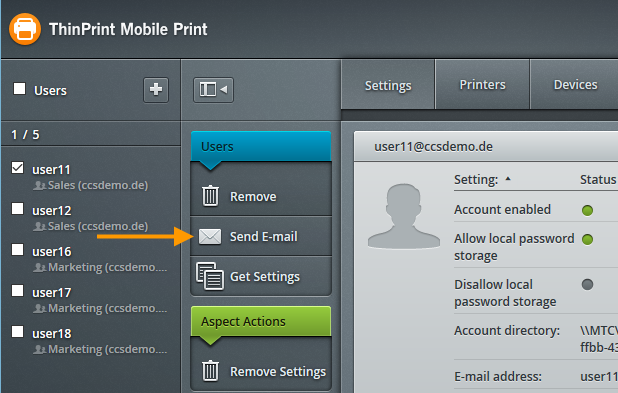
Send welcome e-mail
Get Settings
- Select one or more users.
- Select Get Settings if you want to apply settings you already assigned to one user to another user.
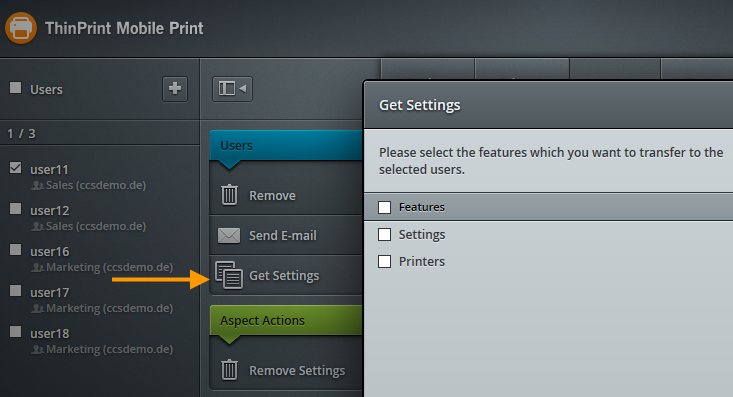
Get setting from an other user
Use Remove Settings to remove settings again.
Removing user devices (Devices)
- If you want to remove a user’s device from the Mobile Print server, select the user
- Next, select the device under Device and then click on Remove.
Note! The user must log out of the Mobile Print app before you remove the device from the management console.
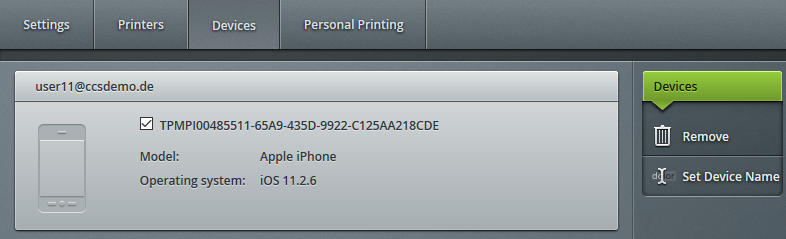
Remove device
Removing a device from the management console is necessary if, for example, a user already has three devices logged in and one of the devices is to be exchanged for another. (One user may use ThinPrint Mobile Print on a maximum of three devices.
After a device has been removed from the management console, a user can no longer log in to the Mobile Print app.