Note! Please keep the following installation order:
1. ThinPrint Client Windows
2. Desktop Agent (ThinPrint version 11) or Desktop Engine role of ThinPrint Engine installer (version 12)
Installing ThinPrint Client Windows
- Add the printer according to the sample scenario (here: HP).
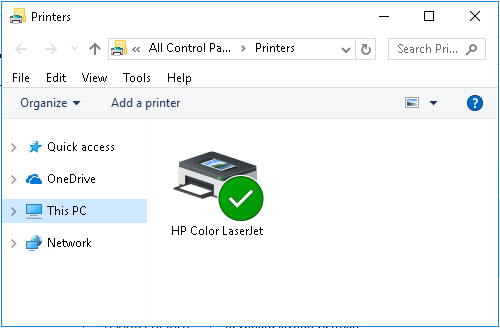
printer installed on the workstation
- Start the ThinPrint Client installation program Setup_ThinPrintClient_x64.exe or Setup_ThinPrintClient_x86.exe.
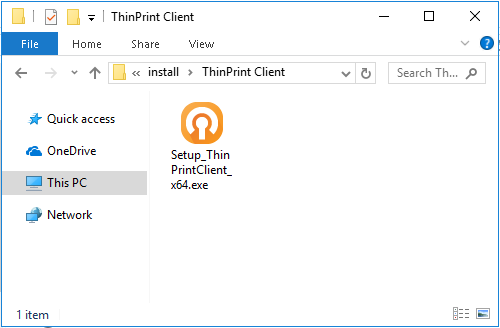
ThinPrint Client installer
- Proceed as described in the section Installing ThinPrint Client on the local print server, except for the installation method for the TCP/IP type; instead, select the installation method as an application and confirm with Next.

ThinPrint Client installer: choosing TCP/IP type as a Windows application
- Do not launch the ThinPrint Client at the end of installation (will be performed after installation of Desktop Agent). Confirm with Finish.
ThinPrint Client installer: finishing without launching the client software
Installing ThinPrint Desktop Agent
The Desktop Agent (ThinPrint version 11) or Desktop Engine role of ThinPrint Engine installer (version 12) is used to install AutoConnect and TP Output Gateway on the workstation.
- Start the setup file, Setup_DesktopAgent_11_x64.exe, for example.
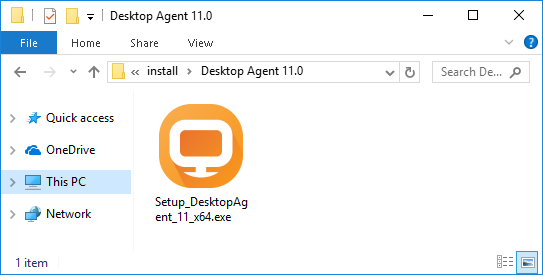
Desktop Agent installer
- Select a language. Click OK to confirm.
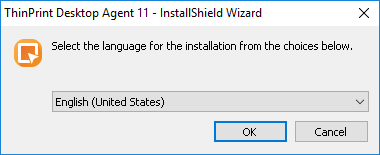
Desktop Agent installer: selecting a language
- Click Next to confirm the Welcome window.
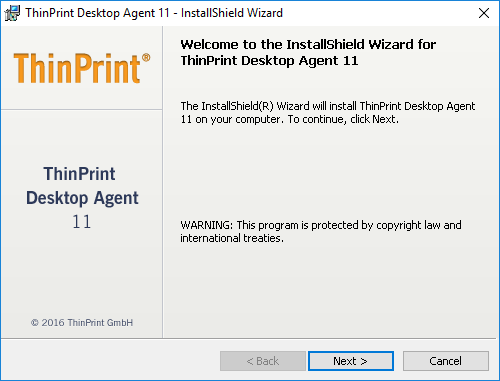
Desktop Agent installer: Welcome window
- Read the license agreement, accept it, and click Next to confirm.
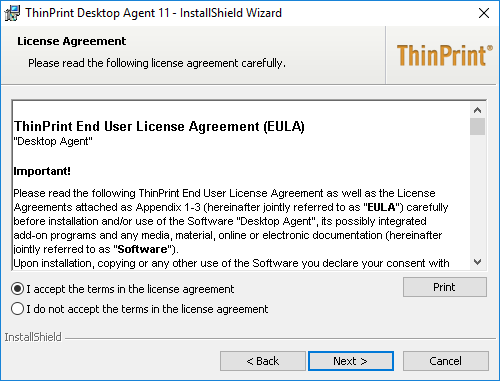
Desktop Agent installer: license agreement
- If you have stored the AutoConnect configuration database centrally, you can specify it here. On this, select Use AutoConnect settings from network share and enter the path to the relevant .db file. Otherwise AutoConnect can still be conventionally configured using group policies. Click Next to confirm.
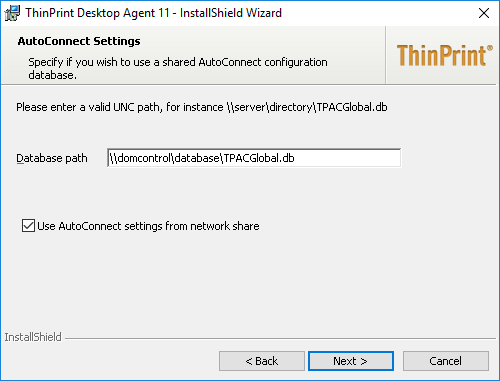
Desktop Agent installer: AutoConnect settings
- Enter the License Server address. Confirm with Next.
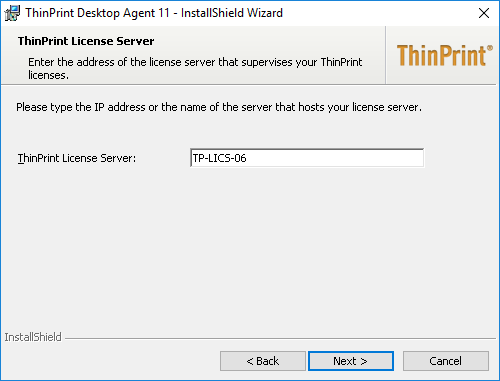
enter License Server address if necessary
- If the account you’re using to install Desktop Agent shouldn’t have admin permissions on the license server you’ll be asked for. Enter appropriate credentials. Confirm with OK.
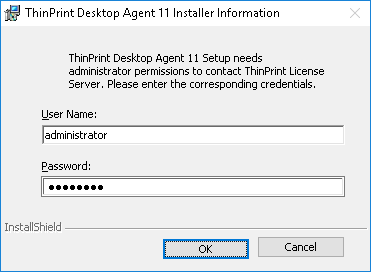
entering admin credentials for the license server, if required
- Click Install to start the installation procedure.
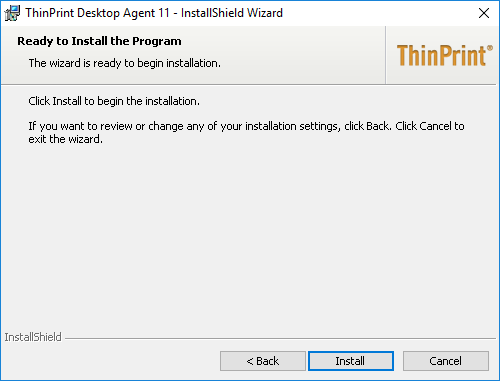
Desktop Agent installer: starting the installation procedure
- Click Finish to close the window.
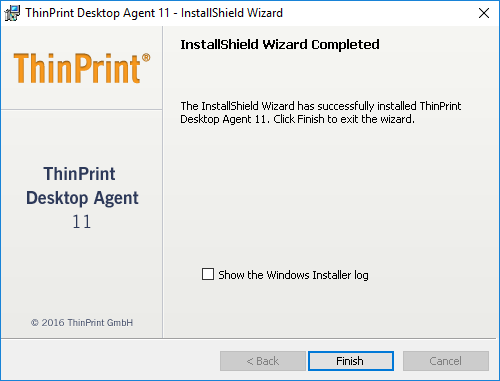
Desktop Agent installer: finished successfully
- Disable Windows service TP VC Gateway Service (because it’s not necessary here, and its TCP port interferes with the one of the ThinPrint Client).
disabling the TP VC Gateway Service
- Confirm a system restart with Yes.
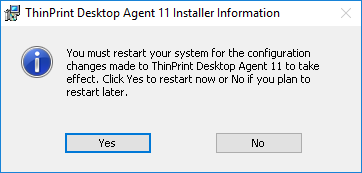
Desktop Agent installer: Windows restart pending