- On a separate Windows machine (see the sample scenario):
Run the Management Centers installer file Setup.exe.
starting Management Center’s installer
- Click Next to confirm the Welcome window.
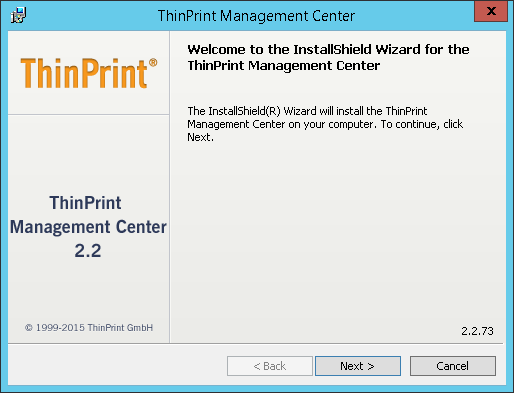
Management Center installer: Welcome window
- Read the license agreement, accept it, and click Next to confirm.
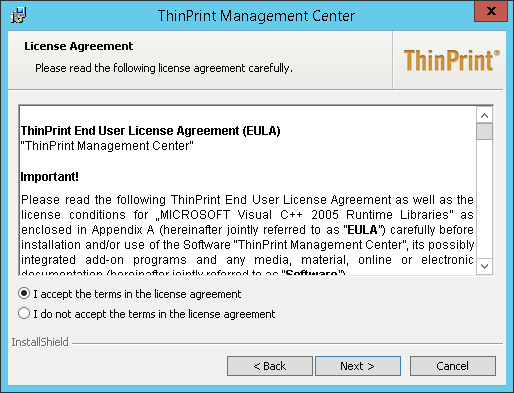
Management Center installer: license agreement
- Select Demo mode. Click Next to confirm.
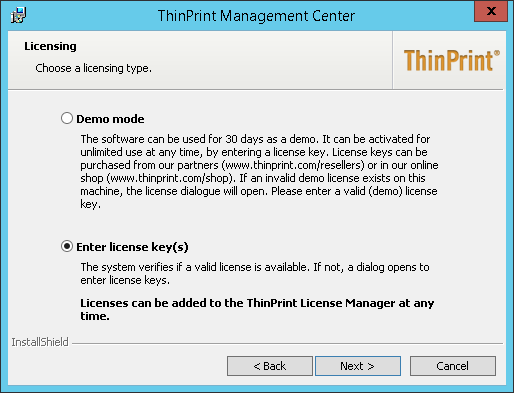
Management Center installer: Selecting demo mode
- In case you’ve selected Enter license keys, copy your license key into the white field and click Enter licenses (left in screenshot).
- If the point on top changes from red to green, close the window with OK (right in screenshot).
Management Center installer: Installing a license key manually, if necessary
- Select ThinPrint Management Center with SQL database. Click Next to confirm.
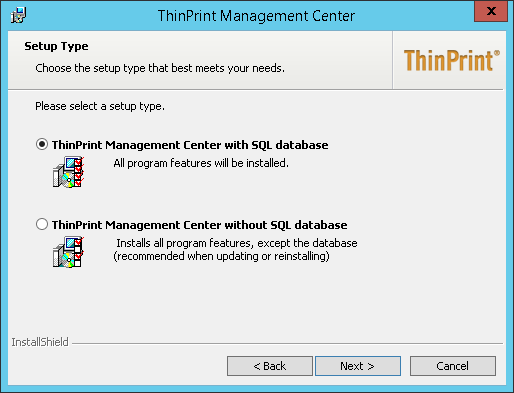
Management Center installer: SQL database is to be installed too
- Specify an SQL server’s Admin account to set up a new database. Click Next to confirm.
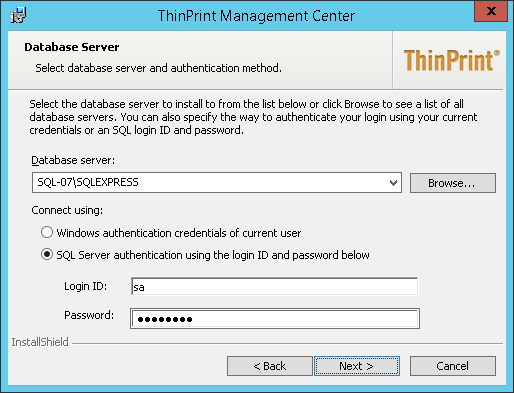
Management Center installer: SQL server credentials
- Enter any name for the new database (will be created by the installer).
- Note this name! Click Next to confirm.

Management Center installer: name of the database to be created
- Enter any user account for the Management Center’s database (will be created by the installer).
- Note Login name and Password! Click Next to confirm.
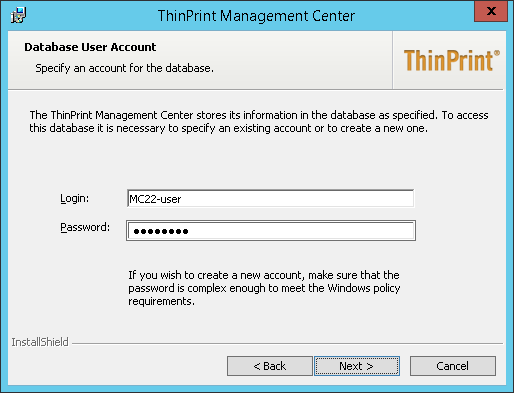
Management Center installer: new account for accessing the Management Center database to be created
- Choose an installation directory and click Next to confirm.

Management Center installer: program directory
- Click Install to start the installation procedure.
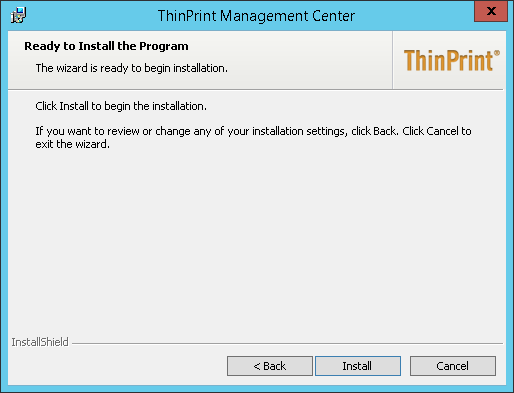
Management Center installer: starting the installation procedure
- Click Finish to close the window.
Management Center installer: finished successfully