After the certification server has been installed, access to its web interface is only possible via http, and is thus unencrypted. To enable encrypted remote access (via https), follow these steps:
- Enable the https protocol for the web interface.
- Create a web server certificate for access to the certification server.
- Assign the web server certificate to the https protocol.
- Export the root certificate from the certification server and import it onto the computers from which you want to request certificates.
Enabling https
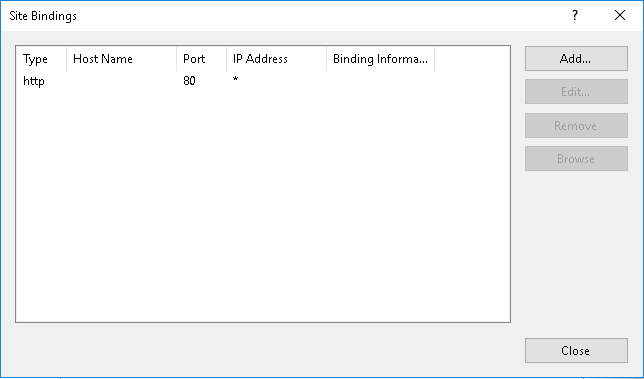
- Open the Internet Information Services (IIS) Manager on the certification server, and once there, select Bindings.
IIS Manager on the certificate server: Select Bindings
- Click on Add, to add the https protocol type.
IIS Manager on the certificate server: Select Add
- For type, select https, and enter the (local) IP address of the certification server. As the certification authority has still not generated a web server certificate, you firstly select the certification authority certificate generated by the role installer (here: Our Company-CA). Confirm with OK and Close.
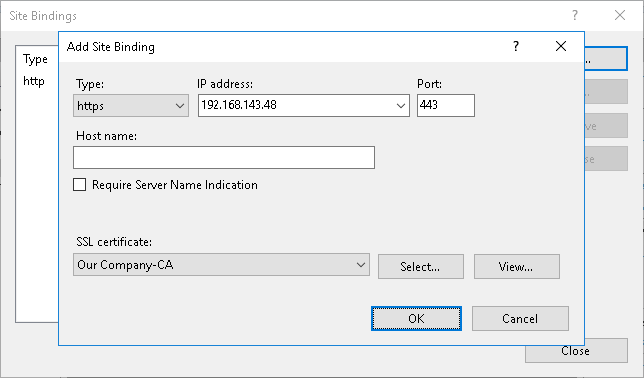
IIS Manager on the certificate server: Enable https
Creating the web server certificate
- Use https on Internet Explorer and the local IP address to open the web interface on the certification server, for example, with
https://192.168.143.48/certsrv/
- Initially, for now, ignore the certificate error (with red background) in the address line. Select Request a certificate.
opening the web interface on the certification server and selecting Request a certificate
- Then select Web Browser Certificate, and, if required, confirm the security prompt with Yes.
web interface on the certification server: selecting Web Browser Certificate
- To complete the certificate request form, select More Options and then use the Advanced Certificate Request form. The complete form is displayed.
web interface on the certification server: selecting all form options
- Enter a name for the certificate. This must match with either one of the FQDN, the host name or the IP address of the certification server. If the name option is being used in the network, then we recommend using the FQDN or otherwise, the IP address.
- Select the following options here:
- Server Authentication Certificate
- a Cryptographic Service Provider (CSP), to enable the Hash Algorithm SHA256 to be selected
- a key size of 2048 or higher
- Mark key as exportable
- the Hash Algorithm SHA256 or higher
- Confirm with Submit.
web interface on the certification server: requesting a certificate via form
The certificate request is confirmed.
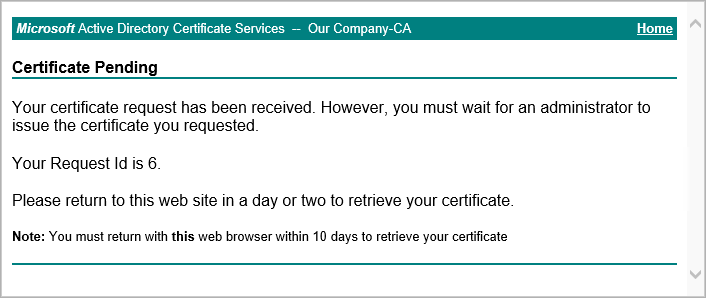
web interface on the certification server: confirmation of the certificate request
- Now open the certification authority console on the certification server (Control Panel→ Administrative Tools→ Certification Authority), select the requested certificate in Pending Request and issue it with Issue.
certificate server’s console: issuing the certificate
- Reopen the web interface on the certification server with, for example:
https://192.168.143.48/certsrv/
- Select View the status of a pending certificate request.
web interface on the certification server: displaying issued certificates
- Select the certificate you just requested – generally the last one and, if necessary, confirm the security prompt with Yes.
web interface on the certification server: issued certificates
- Select Install this certificate.
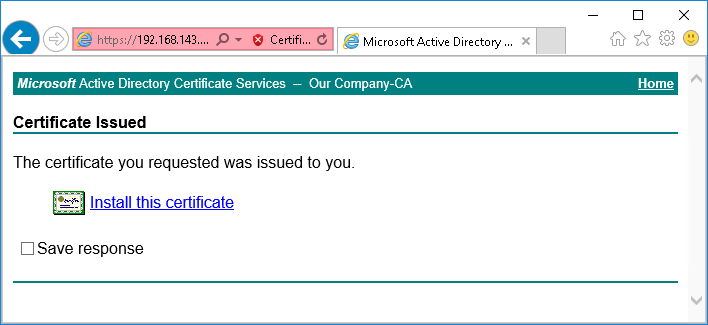
web interface on the certification server: installing the certificate locally
- The web server certificate will be automatically installed in the user’s local certificate store. However, it is required in the certificate store of the computer. To install it there, you have to first export it and then import it again.
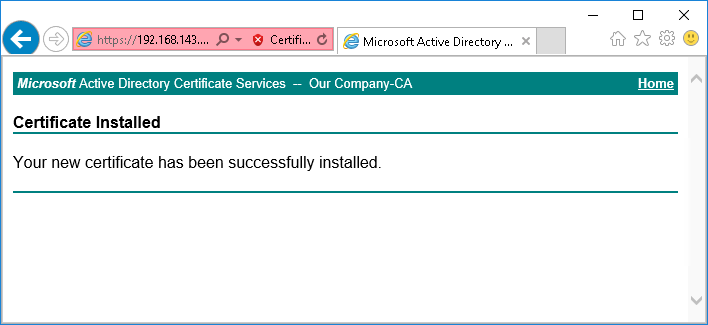
web interface on the certification server: certificate installed locally
user’s certificate store in the certificate server’s MMC: exporting the web server certificate
computer’s certificate store: importing the web server certificate
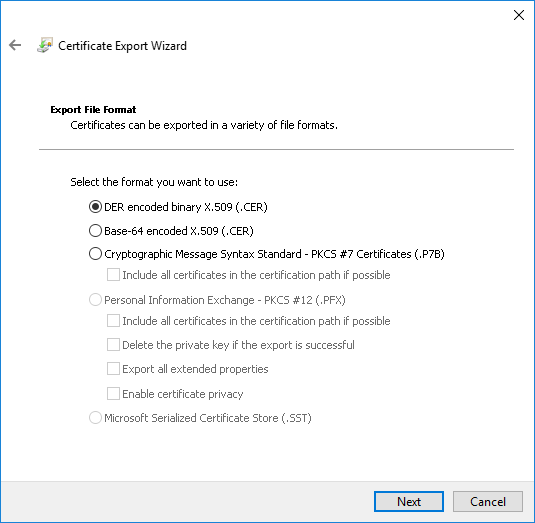
- Make sure when exporting, that you also export the private key, retain the default settings for the export format and create a password that you must remember later.
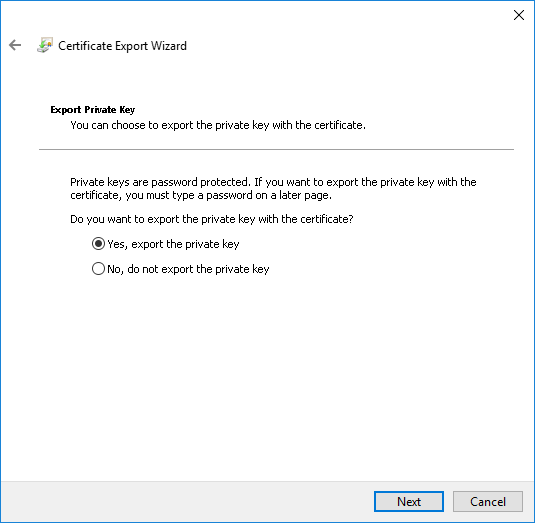
exporting the web server certificate including private key
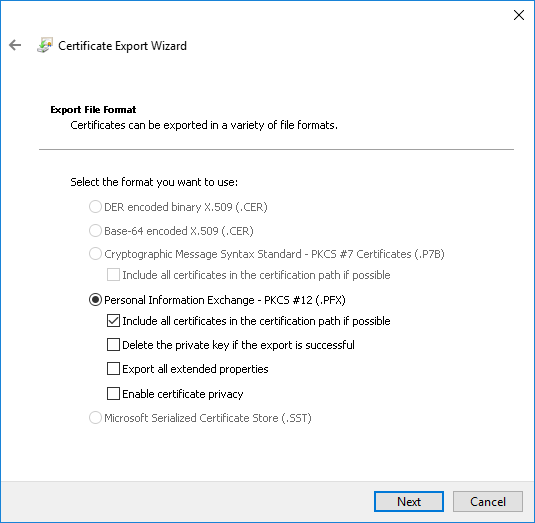
exporting the web server certificate: file format including properties
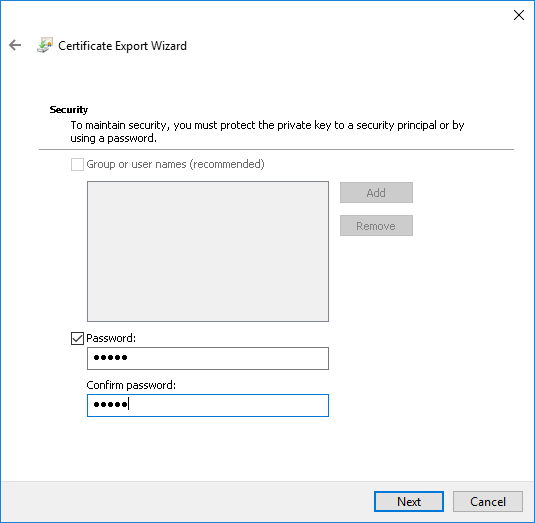
exporting the web server certificate: setting the key’s password
- When importing, reenter the password, leave the option Include all extended properties enabled, and select Personal as the certificate store.
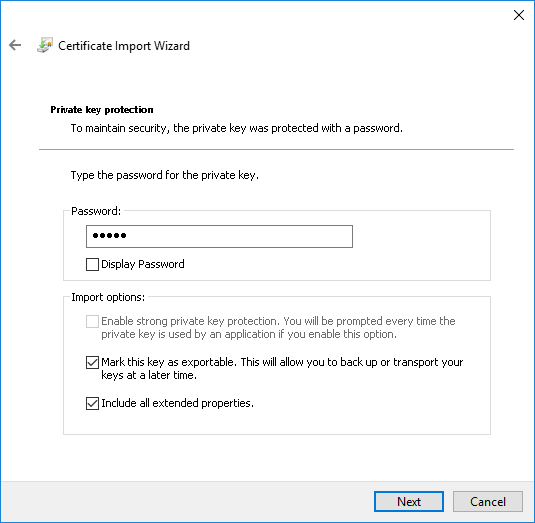
importing the web server certificate: entering the key’s password
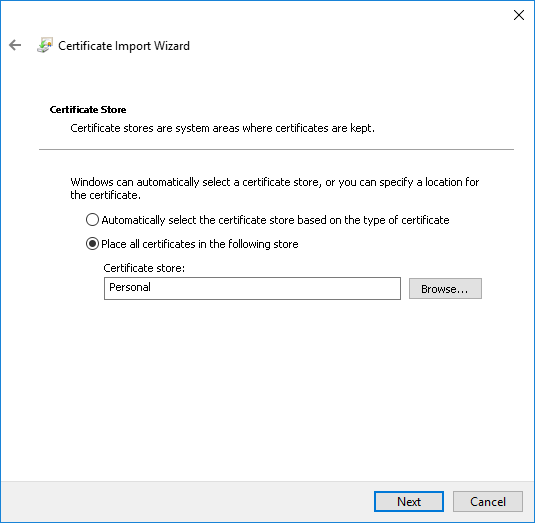
import target: the certificate store Local Computer→ Personal
Assigning the web server certificate to the https protocol
- You can now assign the web server certificate to the web server’s https protocol. To do so, open the certification server’s Internet Information Services (IIS) Manager again and select Bindings.
- Select the new web server certificate as the SSL certificate. Confirm with OK and Close.
IIS Manager on the certificate server: enabling https
- Restart the IIS Admin Service.
Distributing the root certificate
- Export the certification authority’s root certificate from the MMC on the certification server. You can retain the default file format settings here.
exporting the root certificate from the certificate server’s MMC
exporting the root certificate: keep the export format’s default settings
- Import the root certificate to the computer from which you wish to request certificates from the certification server, without, in the process, receiving a certificate error in Internet Explorer.