Using a Windows machine to request a certificate
The next step is to generate the certificates for the central print server and the ThinPrint Client. Technically, you need a minimum of two certificates for ThinPrint: firstly, the issuer and/or root certificate, and then, a server certificate that you can use on the central print servers as well as on the clients, and which must be signed by the issuer certificate.
Note! In a productive environment, we recommend increasing the security by creating individual certificates for each central print server and/or ThinPrint Client.
The following describes an example in which you can request a certificate for ThinPrint from a Windows computer and then install it there.
- In order not to receive a certificate error in Internet Explorer, firstly install the exported root certificate described above in the MMC of the client computer. If required, respond to the security prompt here with Yes.
importing the root certificate in the client machine’s MMC
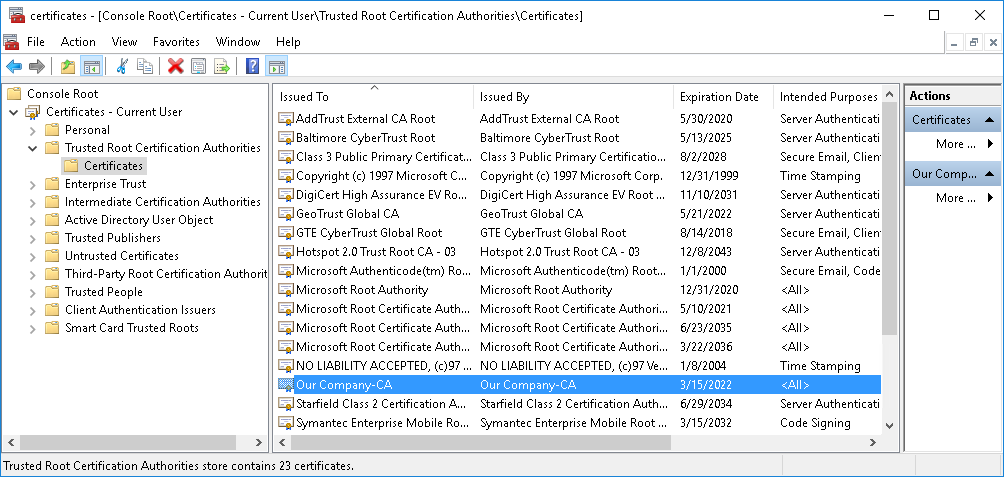
root certificate imported on the client machine
- Open Internet Explorer on the same computer, and go to the website for the certification authority, for example, with:
https://192.168.143.48/certsrv/
The certificate error no longer appears in the address line.
- Select Request a certificate, to request a certificate for ThinPrint.
requesting a certificate from a remote computer
- Then select Web Browser Certificate, and, if necessary, respond to the security prompt with Yes.
- To complete the certificate request form, select More Options and then use the Advanced Certificate Request form. The complete form is then displayed.
- Enter any name you choose for the certificate.
- Select the following options here:
- Server Authentication Certificate
- a Cryptographic Service Provider (CSP), to enable the Hash Algorithm SHA256 to be selected
- a key size of 2048 or higher
- Mark key as exportable
- the Hash Algorithm SHA256 or higher
- Confirm with Submit.
requesting the certificate via form
The certificate request is confirmed.
- Open the certification authority console on the certification server (Control Panel→ Administrative Tools→ Certification Authority), select the requested certificate in Pending Request and then click on Issue to issue it.
certification authority’s console on the certificate server: issuing the certificate
- Reopen the web interface for the certification authority on the client computer with, for example:
https://192.168.143.48/certsrv/
- Select View the status of a pending certificate request.
- Select the certificate you just requested and, if necessary, respond to the security prompt with Yes.
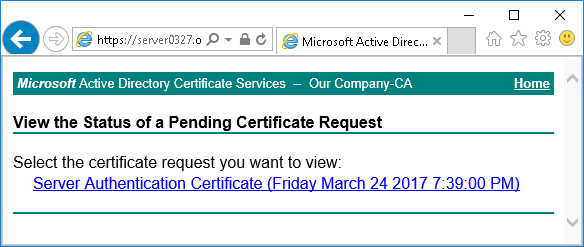
certification authority’s web interface: certificate issued for this user
- Select Install this certificate.
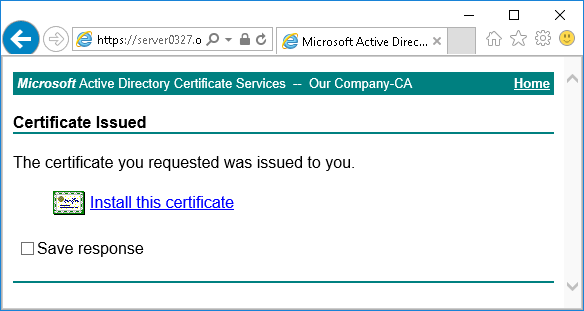
certification authority’s web interface: installing the certificate on the client machine
The certificate will be automatically installed in the user’s local certificate store. If the computer in question has a ThinPrint Client installed and only this user receives encrypted print jobs, then the certificate can remain in the user’s certificate store. If there are multiple users, the certificate must either be imported for each of them individually, or must be placed in the computer-based certificate storage.
The use of the certificate for the ThinPrint Engine is described in the section Importing the server certificate into the print spooler’s certificate store.
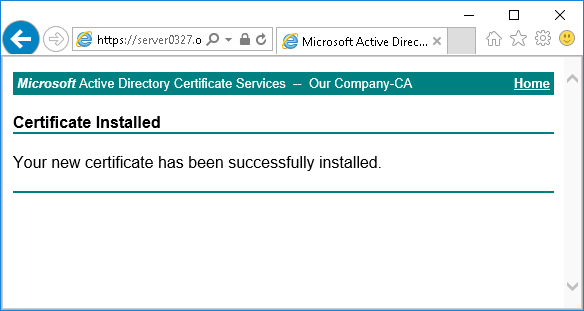
certification authority’s web interface: certificate installed on the client machine
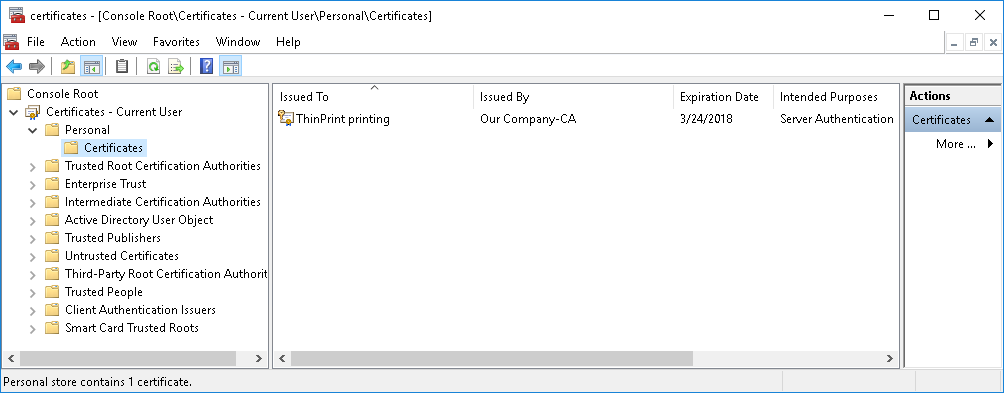
user’s certificate store in the client machine’s MMC
- Double click on the certificate to open it.
You can see here that the certificate’s purpose is to authenticate the identity of the server. It is important that the certificate contains a private key.
certificate containing a private key
User- or computer-based certificate installation?
When you install the certificate on a client computer, you decide whether you want your certificate to be linked to the user or the computer.
- User-based: If only one person uses the computer, install the certificate in the user’s certificate store in Current User→ Personal. That means that the certificate is linked to that actual user and is located in the user’s certificate store.
- Computer-based: If more than one person is using a single computer (or if, in addition to the user account, there is also an administrator account), you can instead make the certificate computer-based and place it in the Local Computer→ Personal container. A single certificate per client computer will suffice for all users who share this computer.
computer’s certificate store in the client machine’s MMC
Note! If you store your certificate in computer-based mode (under Local Computer→ Personal) you then need to assign user permissions for encryption on the client computer (see the section Assigning user permissions for encryption on client computers) and set the CertStore registry value to “1”.
Computer-based certificate storage
To store a certificate in computer-based mode, export it from the user’s certificate store and then import it into the computer’s certificate store.
exporting the certificate
Assigning user permissions for encryption on client computers
If you link your certificates to the computer (as described in the previous section), i. e. you have imported them into Local Computer→ Personal, you can now assign permissions to the individual users of that computer.
- To do this, select All Tasks→ Manage Private Keys in the context menu of the imported certificate. This will take you to the certificate permissions.
opening the key management
- Click on Add to add the individual users or user groups who will be printing with encryption with ThinPrint and give them, as a minimum, read permission.
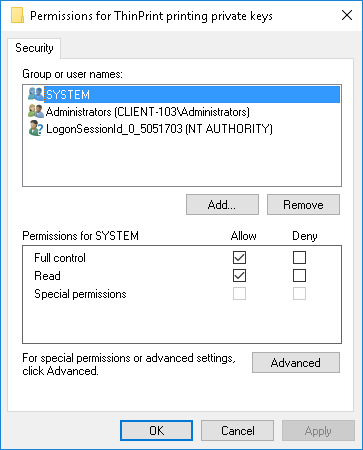
setting the permissions of a certificate: adding users
- To enable printing with encryption, you also need to make one or two registry entries after you have imported the certificate to the client computer. You can read the directions for this in the following section.