Notes
ThinPrint License Server
Make sure that a ThinPrint License Server is already installed.
For this, see the section Installing License Server.
Unattended installation
Unattended installation and licensing are also possible; refer to Unattended installation.
Running the installation program
Note! Before beginning installation, we recommend closing all windows and applications and deactivating any virus scanner. Also be aware that after installation ThinPrint Engine will only become functional after a Windows restart.
Installation is done on a VMware Horizon template: desktop or server operating system.
- Start the installation program,
e. g. Setup_ThinPrint_Engine_Horizon_11_x64.exe
or Setup_ThinPrint_Engine_Horizon_11_x86.exe.
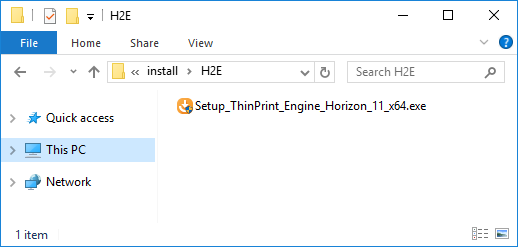
start ThinPrint Engine installation program
- Select your language and click OK
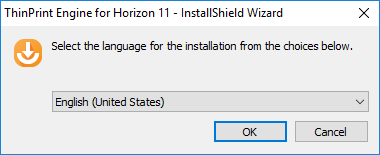
select a language
- InstallShield Wizard will open. Click Next.
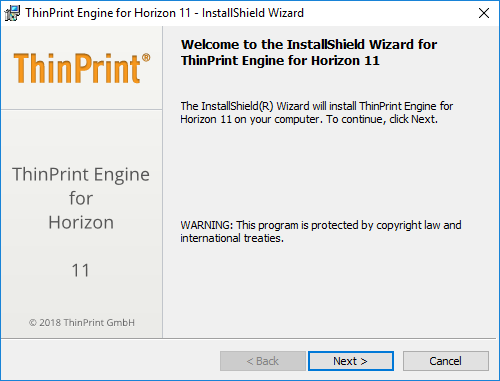
InstallShield-Wizard
- Read the license agreement and accept it. Click Next.
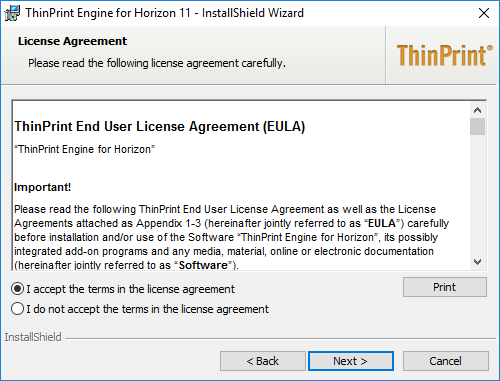
license agreement
- Enter the ThinPrint License Server address if it’s installed on a different machine. Click Next.
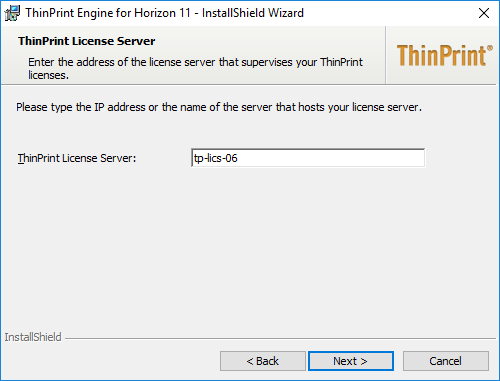
enter License Server address if necessary
- If the account you’re using to install ThinPrint Engine shouldn’t have admin permissions on the ThinPrint License Server you’ll be asked for. Enter appropriate credentials. Confirm with OK.
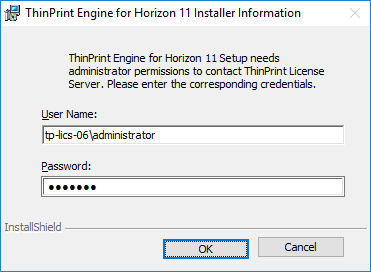
enter admin credentials for the License Server, if required
- Start the installation with clicking Install.
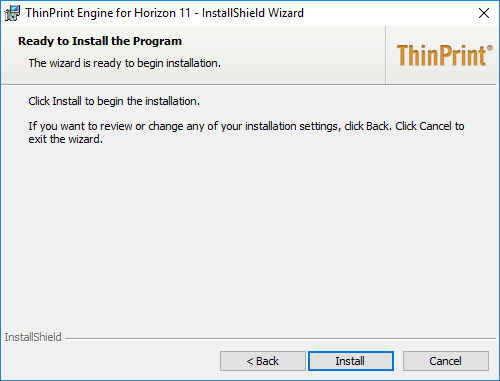
click install
- Click Finish.
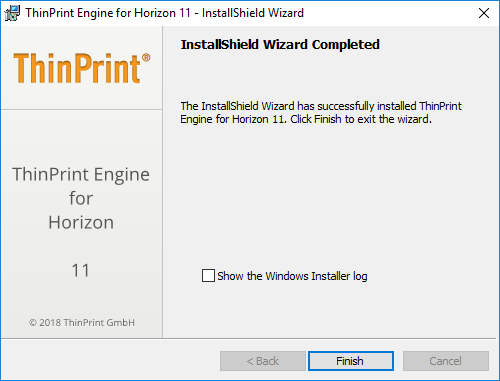
click Finish
- Click Yes to reboot the system
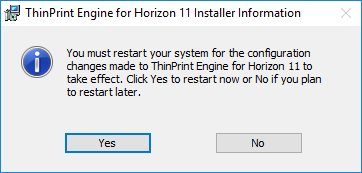
click Yes to reboot the machine now
You will then find a new entry in the Windows Start menu for the ThinPrint Self Service.
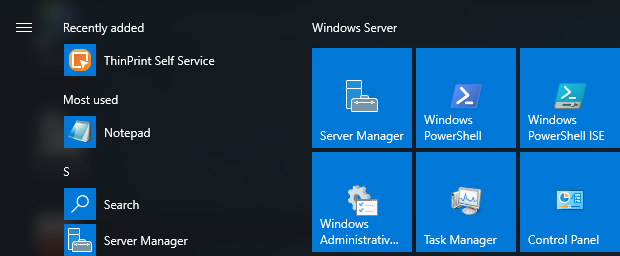
new Start menu entry: ThinPrint Self Service
ThinPrint Output Gateway template
You can also find the printer template _#ThinPrint Output Gateway in the Printers folder of the computer on which you have installed.
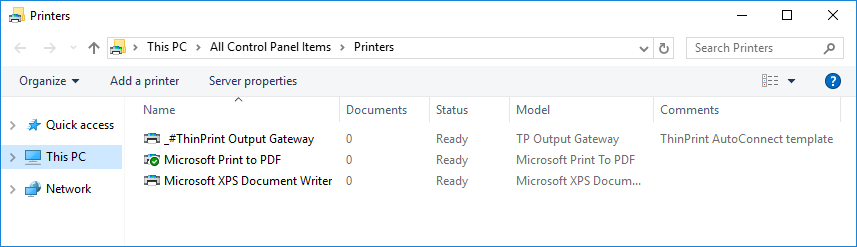
_#ThinPrint Output Gateway printer template in the Printers folder
This printer is a template for auto-created client printers. In other words, when a user establishes a connection to the virtual desktop, a printer is created (mapped) for them in the ICA or RDP session; this printer inherits specific settings (e. g., compression level, the transmission protocol, and the TP Output Gateway printer driver) from the template.
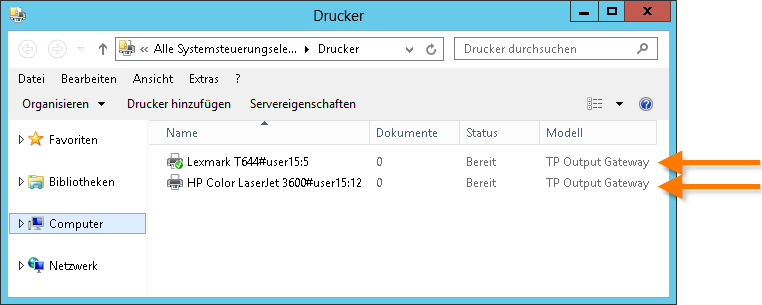
printers in a session: TP Output Gateway printer driver inherited from a template (example)